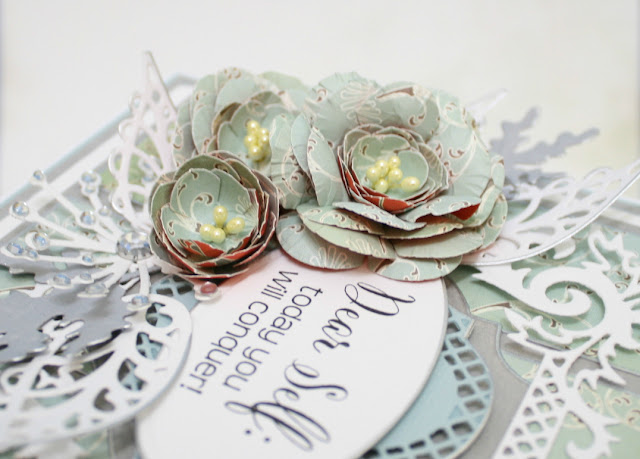
Welcome to Spellbinders CHA Roundup Blog Hop - Day #3! The project shared on days 1 and 2 were stunning, and there are just so many beautiful dies being released in the next few months. We really hope the Blog Hop will inspire you in your own paper crafting.
First up, I am so excited to be using
S4-577 Labels 50 Decorative Elements. It is a gorgeous die set that has all the intricate detailing that Spellbinders is known for. To create this card, I used the Platinum Die Cutting and Embossing Machine
™ to cut and emboss all 4 of the die templates in this set. The colours I chose to use on each size are shown below. The large grey background was made by tracing around the largest die #4 (with #1 being the smallest die template in the set) and cutting it by hand. I stamped the small sentiment 'Hope' and then positioned die #1 over it, centering the sentiment in the open aperture.
Next, I edged each die cut using Versamark ink and applied Shabby Blue Embossing enamel liberally and heat set it using a heat tool.
I adhered the layers using dimensional foam, alternating the direction of the points as each layer was added. The created more of a flower effect that a repetition and unity of shape adding interest to this sweet card. I added a tiny, white double bow to accent the final layer, which was placed off-centre.
Spellbinders
Products Used:
Cross
Promotional Products:
Imagine Crafts/Tsukineko Versafine Ink Onyx
Black; Versamark Ink
Scrapbook adhesives by 3L foam squares
Stampendous Embossing Enamel Shabby Blue
Other
Supplies (non-partners):
Light grey cardstock; White 1/4” ribbon; Small
sentiment stamp
For my second project I used the smallest die #1 from S5-253 Ritz Decorative Element
To create this card, cut a 4" x 5 1/4" rectangle from kraft cardstock. Using a pencil, divide the rectangle into equal fourths as shown.
Cut and emboss 9 shapes using die template #1 - save those centers!! Using foam dimensionals, adhere the first diamond lined up with the pencil lines as shown. Adhere the remaining shapes.
Continue adding shapes until the entire kraft cardstock is covered. I cut one diamond in half, and another diamond was cut into fourths, as shown.
Turn over the kraft cardstock panel and trim off excess white cardstock using a paper trimmer.
Adhere kraft cardstock panel onto a 4 1/8" x 5 3/8" pink cardstock rectangle. Adhere these layers to a white cardstock 4 1/4" x 5 1/2" card base. Apply clear self-adhesive rhinestones to each diamond junction to disguise any imperfections! ;)
Cut 'I' and 'U' from
S6-036 Victorian Letters using kraft cardstock. Cut a heart using die template #1 from
S4-136 Classic Heart using pink cardstock. Adhere as shown using foam dimensionals. To create a less challenging version of this card, adhere the cut and embossed pieces directly to the cardstock, rather than using foam dimensional as shown here.
Spellbinders
Products Used:
Cross
Promotional Products:
Scrapbook adhesives by 3L foam squares
Want 2 Scrap Rhinestone 72 - Silver
Other
Supplies (non-partners):
Pink, kraft cardstock
Now, for the fun! Please click on my Spellbinders Giveaway Link to enter for your chance to win! **EDIT - this contest is now closed and the link has been disabled. Many thanks for your participation, and good luck to all who entered the contest.
Official contest rules can be found
HERE


